SitePad is a user-friendly website builder designed to empower individuals and businesses to create professional and visually appealing websites without the need for extensive coding knowledge. With a drag-and-drop interface and a plethora of customizable elements, SitePad simplifies the website building process. In this article, we'll delve into what SitePad is and provide a step-by-step guide on how to use its features to build your own website.
A- Understanding SitePad
SitePad is a website builder that focuses on simplicity and efficiency. It offers a wide range of pre-designed templates, making it easy for users to create websites for various purposes, including personal blogs, portfolios, business sites, and more. The platform provides a visual interface that allows users to design their websites by simply dragging and dropping elements onto the canvas.
B- Key Features of SitePad
- Drag-and-Drop Interface: SitePad's intuitive drag-and-drop interface enables users to add and arrange elements effortlessly, eliminating the need for manual coding.
- Templates: Choose from a diverse collection of professionally designed templates tailored for different industries and purposes. These templates serve as a starting point for your website design.
- Responsive Design: SitePad ensures that websites created with its builder are responsive, meaning they adapt seamlessly to different screen sizes, including desktops, tablets, and smartphones.
- Widgets and Elements: Enhance your website's functionality with a variety of widgets and elements, including forms, galleries, social media integration, and more.
- E-commerce Integration: SitePad supports e-commerce functionality, allowing users to create online stores with features like product listings, shopping carts, and payment gateways.
C- Using SitePad - A Step-by-Step Guide
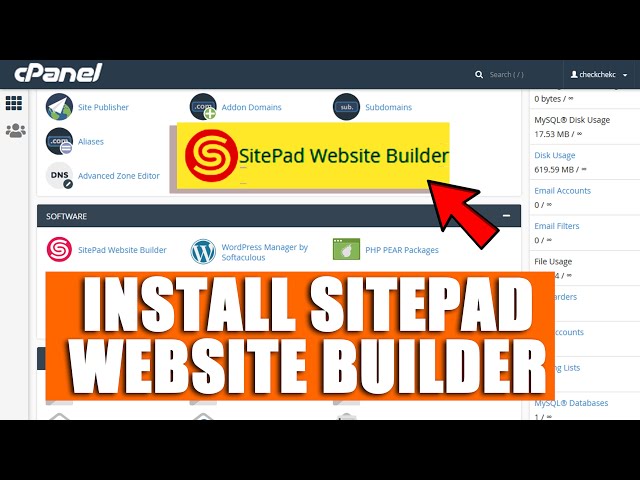
Step 1: Accessing SitePad:
- Log in to your hosting account or website control panel.
- Look for the SitePad icon or access it through the website builder section.
Step 2: Choosing a Template:
- Once in SitePad, browse through the template library.
- Select a template that suits your website's purpose.
Step 3: Customizing Your Website:
- Use the drag-and-drop editor to add and arrange elements.
- Customize text, images, and other elements by clicking on them and adjusting settings.
- Explore widgets and elements to add features like contact forms, image galleries, and social media feeds.
Step 4: Managing Pages:
- Add and organize pages in the site structure.
- Customize page settings, including SEO settings and navigation menus.
Step 5: Preview and Publish:
- Preview your website to see how it will appear to visitors.
- Once satisfied, click the "Publish" button to make your website live.
Step 6: Responsive Design:
- Check how your website looks on different devices to ensure responsiveness.
- Adjust element settings as needed for optimal display on various screens.
Step 7: E-commerce Integration (Optional):
- If creating an online store, add products and configure e-commerce settings.
- Set up payment gateways and shipping options.
Conclusion
SitePad provides an accessible and efficient solution for individuals and businesses looking to create a professional online presence. By following the steps outlined in this guide, you can harness the power of SitePad's drag-and-drop interface and features to design and publish your own website. Whether you're a beginner or an experienced user, SitePad's user-friendly approach makes the website building process enjoyable and hassle-free.

